SQLite Editor with GO and React
Pritish Mishra / March 30, 2024
5 min read • ––– views

Hey there! In this blog post, I'll walk you through the process of building a SQL Editor using React and Go. Before we dive into the code, let me give you a quick overview of the project.
The SQL Editor is a web application that allows you to connect to SQLite databases, browse their tables, and execute SQL queries. It's a handy tool for developers working with SQLite databases, as it provides a user-friendly interface for interacting with the databases.
Getting Started 🚀
The first step in building the SQL Editor was to set up the Go backend. We used the standard net/http package to create a simple web server and define various handlers for different functionalities.
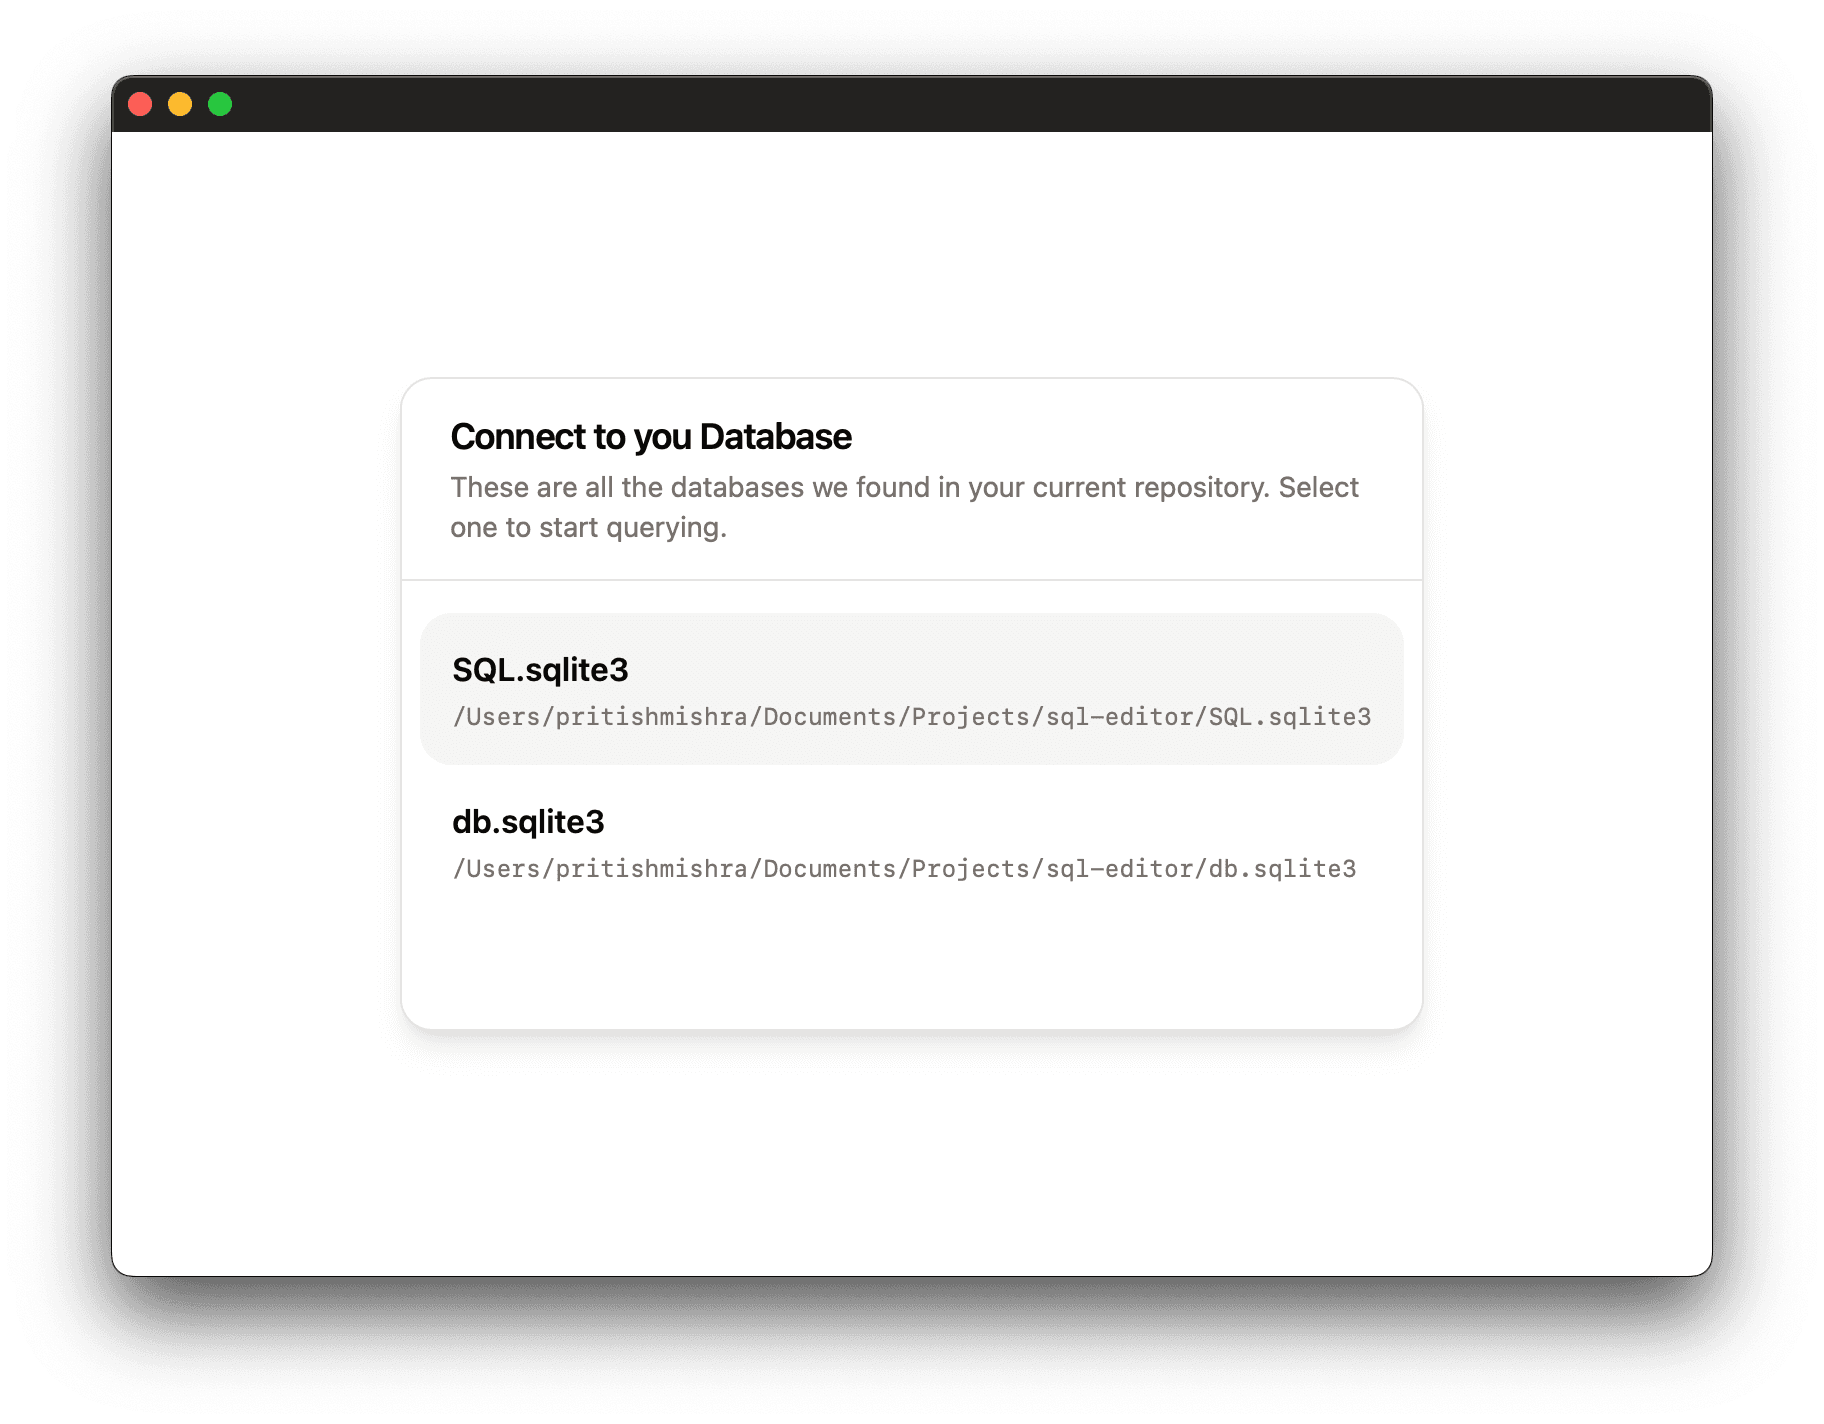
For instance, the /init handler searches for SQLite databases in the current directory and returns a list of available databases:
func initHandler(w http.ResponseWriter, r *http.Request) {
    rootDir, err := os.Getwd()
    if err != nil {
        http.Error(w, "Error getting current directory", http.StatusInternalServerError)
        return
    }

    databases := searchSQLiteDatabases(rootDir)
    data, err := json.Marshal(databases)
    if err != nil {
        http.Error(w, "Error serializing data to JSON", http.StatusInternalServerError)
        return
    }

    w.Header().Set("Content-Type", "application/json")
    w.Write(data)
}
The /connect handler establishes a connection to the selected SQLite database:
func connectHandler(w http.ResponseWriter, r *http.Request) {
    var dbInfo DatabaseInfo
    err := json.NewDecoder(r.Body).Decode(&dbInfo)
    if err != nil {
        http.Error(w, fmt.Sprintf("Error decoding request body: %v", err), http.StatusBadRequest)
        return
    }

    err = connectDatabase(dbInfo)
    if err != nil {
        sendErrorResponse(w, "Error connecting to database:", http.StatusInternalServerError, err)
        return
    }

    w.WriteHeader(http.StatusOK)
}
The /tables handler retrieves information about the tables in the connected database, and the /query handler executes the SQL query provided by the client.
Building the Frontend 🖥️
For the frontend, we used React along with various UI libraries like Sonner (for toast notifications), Tailwind CSS (for styling), and Monaco Editor (for the code editor).
The main App component handles the state of the application, including the list of available databases, the connection status, the SQL query, and the table data resulting from the query execution.
Here's a snippet from the App component:
function App() {
  const [dbs, setDbs] = useState<Db[]>([]);
  const [open, setOpen] = useState(true);
  const [value, setValue] = useState<string | undefined>('SELECT * FROM users;');
  const [tableData, setTableData] = useState<TabelData[]>([]);
  const [columns, setColumns] = useState<{ accessorKey: string, header: string }[]>([]);

  // ...

  return (
    <div className='h-screen w-screen'>
      {/* Database selection dialog */}
      <Dialog open={open}>
        {/* ... */}
      </Dialog>

      {/* SQL editor and table data */}
      {!open && (
        <>
          <div className='h-1/2 w-4/5 flex flex-col mx-auto shadow-md mt-4 p-1 border-4 border-primary rounded-md overflow-auto'>
            <MonacoEditor
              code={String(value)}
              onChange={(value) => setValue(value)}
            />
            <div className='w-full flex justify-end pr-2 pb-2'>
              <Button onClick={handleQuery}>Run</Button>
            </div>
          </div>
          <div className="container mx-auto py-10">
            <DataTable columns={columns} data={tableData} />
          </div>
        </>
      )}
      <Toaster richColors />
    </div>
  )
}
The MonacoEditor component is a custom component that wraps the Monaco Editor library and provides a code editor for writing SQL queries.
const MonacoEditor: React.FC<MonacoEditorProps> = ({ code, onChange }) => {
  const editorRef = useRef<any>(null);

  useEffect(() => {
    if (editorRef.current) {
      editorRef.current.editor.setTheme('light');
      editorRef.current.editor.focus();
    }
  }, []);

  const handleEditorDidMount = (editor: any, _monaco: any) => {
    editorRef.current = editor;
  };

  return (
    <Editor
      className="w-full h-full"
      defaultLanguage="sql"
      defaultValue={code}
      onChange={onChange}
      onMount={handleEditorDidMount}
      options={{
        minimap: { enabled: false },
        wordWrap: 'on',
        scrollBeyondLastLine: false,
        automaticLayout: true,
        fontSize: 16,
        fontFamily: 'Jetbrains Mono',
        renderLineHighlight: 'none',
        overviewRulerLanes: 0,
        glyphMargin: false,
        folding: false,
        lineNumbersMinChars: 3,
      }}
    />
  );
};
The DataTable component displays the table data resulting from the SQL query execution using a library called react-table.
Integrating the Frontend and Backend 🤝
To integrate the React frontend with the Go backend, we used the webview package from the github.com/webview/webview_go library. This package allows us to create a native window and embed a web view within it, effectively turning our web application into a desktop application.
Here's the code for the web package that serves the React application and creates the native window:
package web

import (
    "embed"
    "fmt"
    "io/fs"
    "net/http"
    webview "github.com/webview/webview_go"
)

//go:embed dist/*
var staticFiles embed.FS

func Serve() {
    staticSubFS, err := fs.Sub(staticFiles, "dist")
    if err != nil {
        panic(err)
    }

    http.Handle("/", http.FileServer(http.FS(staticSubFS)))
    fmt.Println("Server listening on port 8080...")
    go http.ListenAndServe(":8080", nil)

    w := webview.New(true)
    w.SetSize(800, 600, webview.HintNone)
    w.Navigate("http://localhost:8080")
    w.Run()
}
This code serves the compiled React application from the dist directory and creates a native window with a web view pointing to http://localhost:8080.
Wrapping Up 🎁
And that's it! We've covered the essential components of the SQL Editor project. Of course, there's always room for improvement and additional features, but this should give you a good starting point.
Building projects like this not only helps you learn new technologies but also reinforces your understanding of existing ones. I hope you found this blog post informative and enjoyable. Happy coding!
If you want to check out the full source code of the project, you can find it on GitHub: SQL Editor